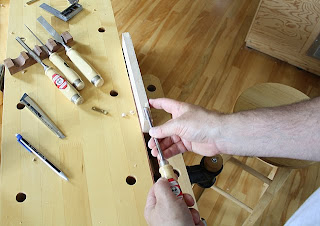
 Most recently, I've been working at creating the mortises for the doors. Accurate measurements are critical for this fitting and I typically measure and re-measure before even beginning to chisel out the knife hinge mortises. I dry fit the cabinet sides, top and bottom and then use a spacer I created as part of the fitting process to transfer the hinge mounting offset to the top and bottom panel. This is the offset from the side panels to the hinge in the door. As well, I transfer the length of the hinge in the door panels to the top and bottom.
Once I have this particular measurement marked out on the cabinet top and bottom for both doors I can use the hinge itself to mark the opposite, parallel side of the mortise. A short time later and the mortises are completed in the top and bottom panels. The next critical test is dry fitting the door panels and knife hinges into the cabinet. This part is successful. I have left a little extra in each door panel where they meet in the center to allow me to fit them so the rabbeted ledges will meet correctly.
I'm also very happy with the choice of graphics in the ambrosia maple veneers I have chosen. I need to perform some final fitting of the mortises, very small adjustments in the hinge placement withing the mortise itself. I had purposely left the length of the cabinet mortises a fraction of an inch short so I can dial in the placement of the doors. The very small reveal at the top and bottom of the doors needs to be perfectly parallel with the respective cabinet top and bottom panels. Once I have this done I will begin the cabinet glue up process.


