In 2005, I developed this system of bench stops as a simple alternative to installing a tail vise on a workbench. So I've been using this system of bench stops for 12 years now, it will be the 12th anniversary shortly! The system is set up on one of my original workbenches which happened to be my main workbench at the time. This particular shop-made workbench did not lend itself well to incorporating a tail vise so I told myself there had to be a better way to hold boards firmly while hand planing. Apologies for the vintage photography, but I wanted to keep the article period correct :)
This alternative tail-vise setup is used when face planing boards. Most flat, regular benches can easily be modified to incorporate this hand planing setup using bench stops ( Roubo style). Photos below are of the bench stop setup on the workbench in my workshop. This bench has been modified for adapting the two bench stops. Adapting a bench can be expanded for longer bench stops, more holes for versatility, etc. I chose this particular hole spacing for the type of work I do. I am also left-handed and plane left to right, therefore I set this up on the back side of my bench which is unencumbered by a face vise ( the face vise at front of bench ).
It is critical to get the 3/4 in. dowel holes square to the bench and in-line with each other, to ensure that the 12 in. bench stops are perpendicular to each other. The side bench stop does a great job of preventing the board from rotating sideways while hand planing with diagonal strokes. It has a large bearing surface to keep any size board from rotating. The side bench stop is also movable within a 12 in. span on 3 sets of holes, allowing for narrow boards and wider boards (2 in. to 14 in.).
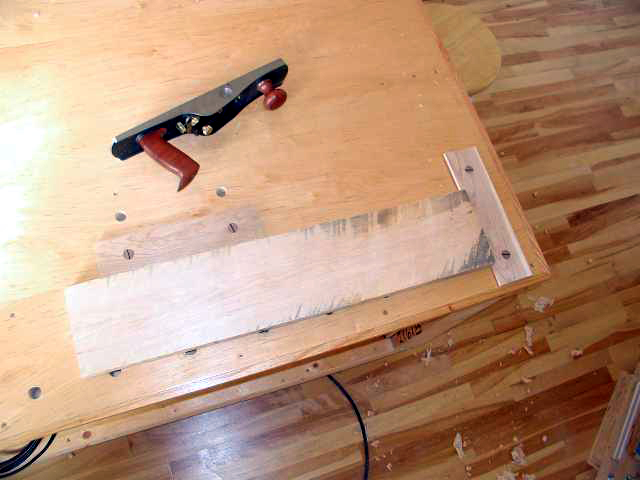
The side bench stop can be swung around towards the front bench stop with a parallel set of holes, this is to accommodate shorter boards. Pictures above and below provide a better explanation.
The wide front bench stop also serves to prevent the board from rotating or shifting sideways as it has a large bearing surface for the front edge of the board. Bench stops (front and side) are friction fit so they can be raised (1/4 in. to 3/4 in.) to accommodate thicker boards, very much like a bench dog. Otherwise, the minimum height of the bench stops would be approximately 1/4 inch. The hole spacing is arbitrary and based on the type of board sizes I typically hand plane in my own furniture making. two inch long birch dowels are glued in the bench stops using ebony wedges. The wedges are inserted into kerfs created in the ends of the dowels for tightness. Kerfs at the ends of the dowels are cut on a bandsaw.
A benefit of having a board simply against bench stops is that you really cannot drag the plane back in your strokes since it would pull the board back. This trains you to lift the handplane instead of dragging it back. The only wear on the blade then is from the forward stroke. Also you eliminate the tendency of bowing a thinner board caused by clamping between bench dogs and tail-vise and distorting the board while planing. You also gain more tactile feedback and control of your planing and it becomes easy and quick to re-orientate the board end for end or flip it over, etc.
Typical bench stop setup to act as a tail vise.
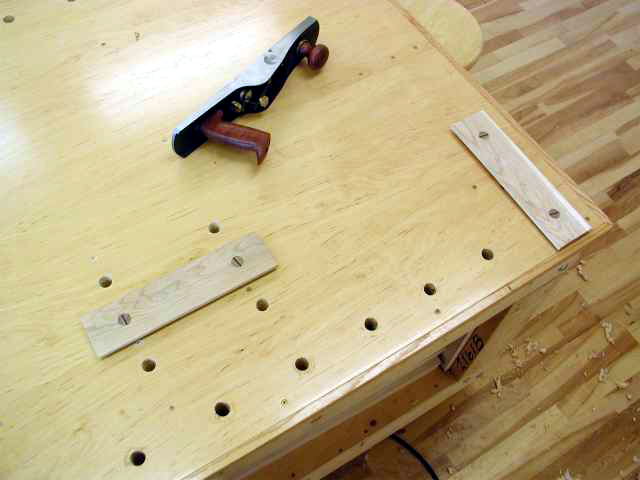
More holes can be added to allow for very short boards as done in bottom pictures. It is then a matter of swinging the side bench stop around towards the front bench stop. The spacing and location I have selected is optimized for the length and width of boards I typically handplane in my furniture making.
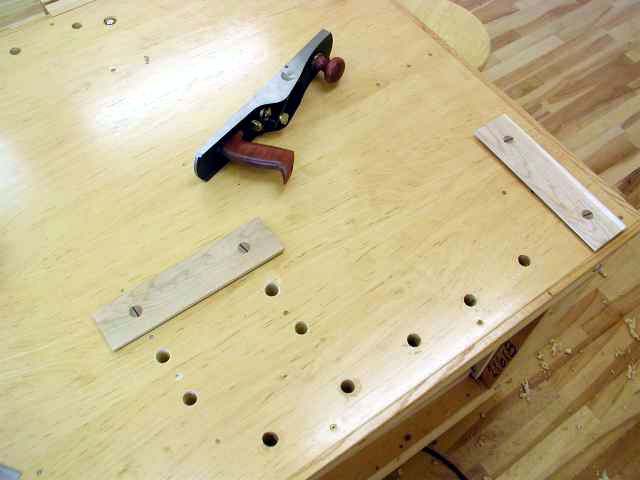
The bored 3/4 in. holes can also be used for bench dogs and holdfasts for irregular sized pieces.
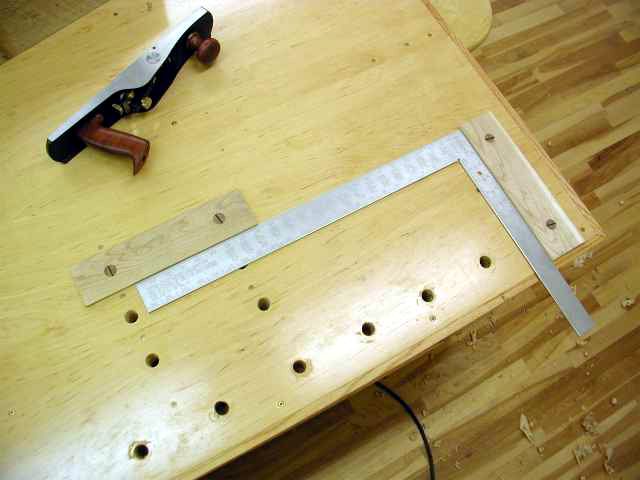
Align side bench stop to be perpendicular with face of front bench stop using a large square to mark holes. This will ensure the complete edge of the bench stop is against the board to be planed.
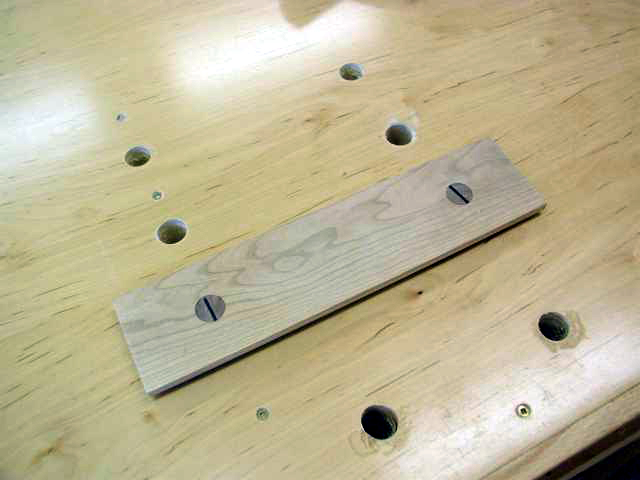
Side bench stop set to narrowest width, closest to edge of bench.
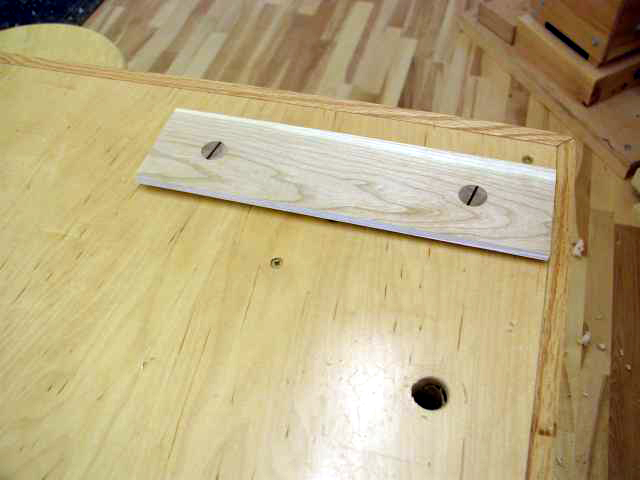
Bench stops can be raised or lowered as conventional bench stops for thinner or thicker boards.
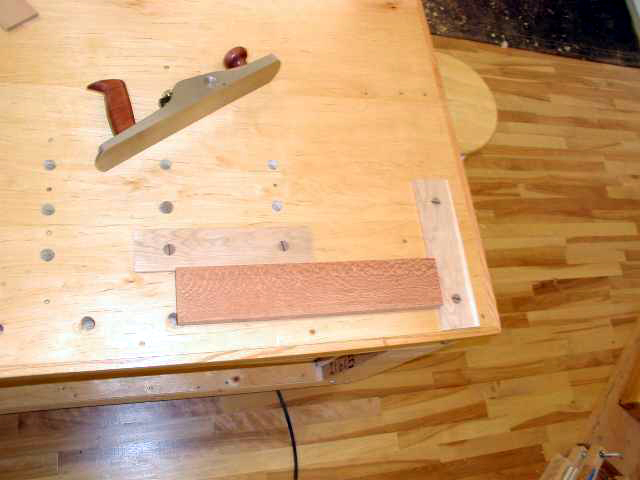
A short, narrow piece of lacewood being planed.
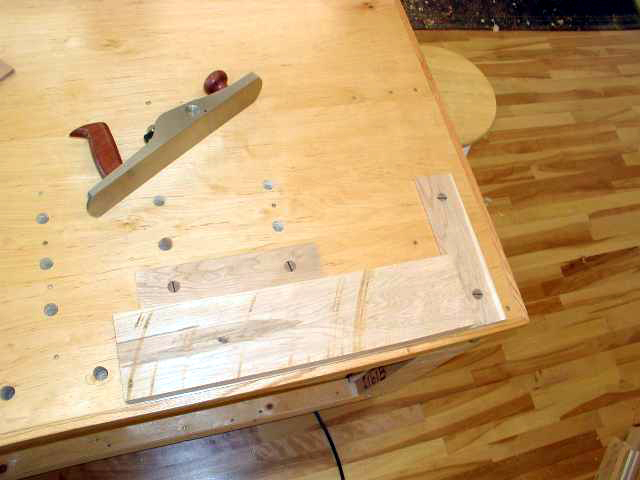
Parallel set of holes bored to accommodate shorter and wider boards shown above. It is recommended to lay out all the holes you will need for this system and then drill them. This method ensures that all holes are square and perpendicular to each other and the front bench stop.
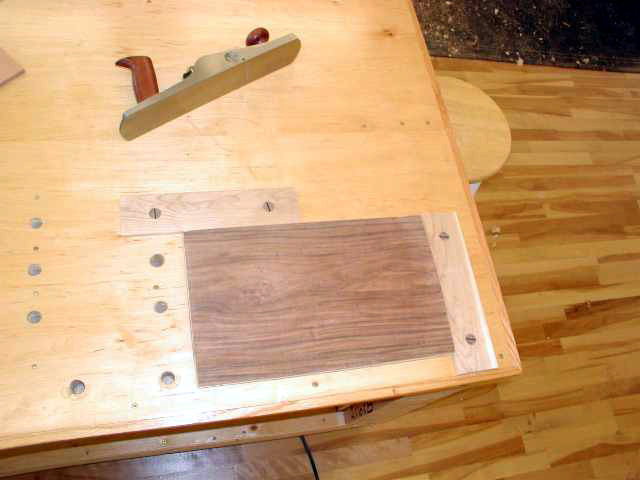
A small, wide panel being face-planed.
Developing this alternative tail vise idea led to an article on bench stops and jigs I wrote for Fine Woodworking Magazine. The
4 Bench Jigs for Handplanes article was published in early 2009.


