
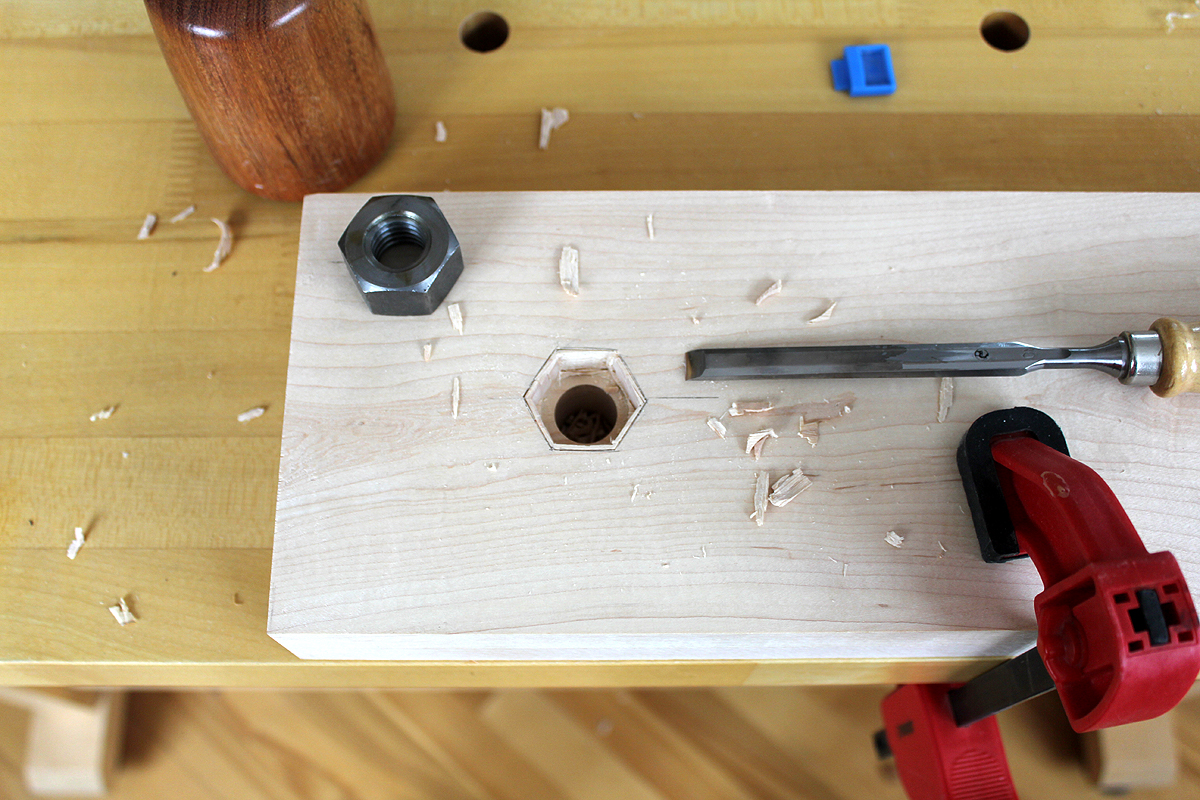
 Mortising for the captive nut in the rear jaw inside face was performed using bevel-edge and mortise chisels. Hard maple is well.. hard! In this case, the mortise chisels excelled at hogging out material from the 3/4 inch deep mortise. With a softer hardwood, lighter bevel-edge chisels would have been sufficient. I also oriented the nut so it would align well with the long edges of the rear jaw, mostly an aesthetic consideration.
 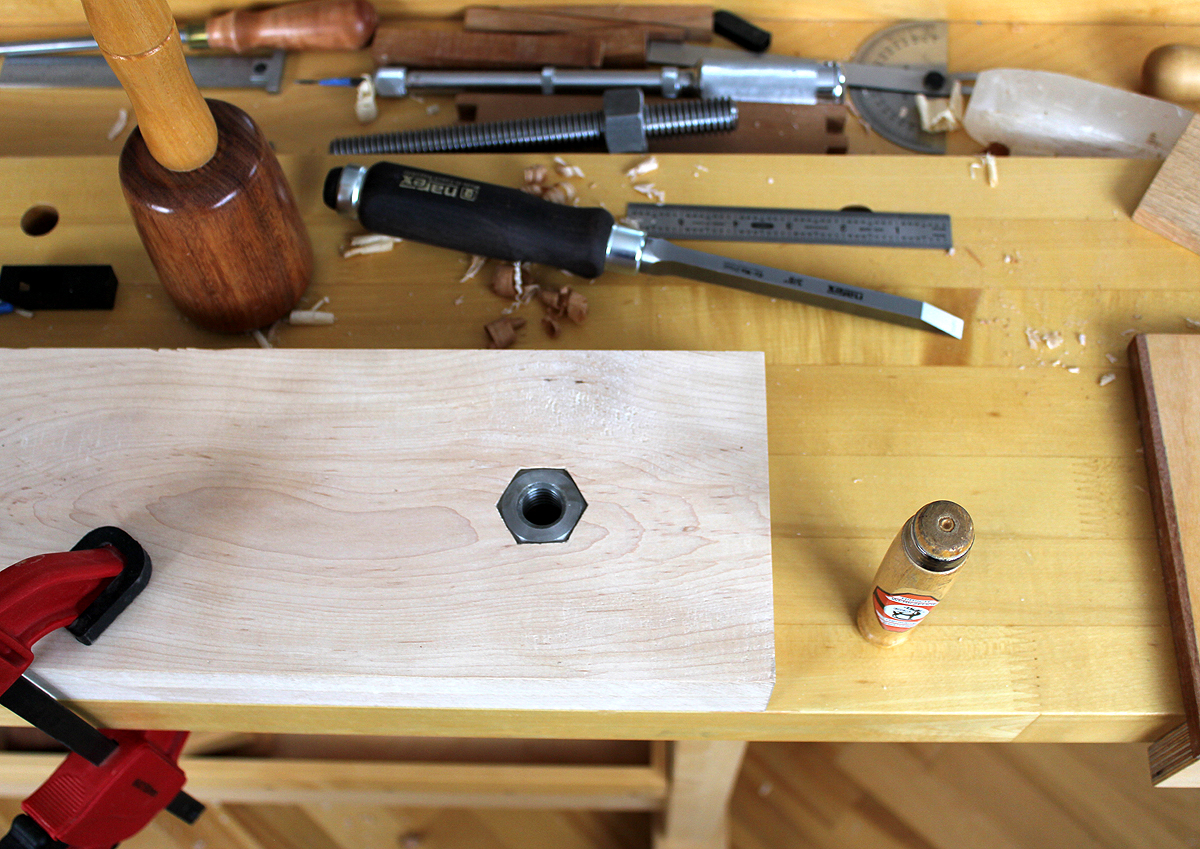 After test-fitting the Benchcrafted hardware and ensuring it worked smoothly, the next step was to attach a large block of wood to the rear. This block of wood would both stabilize the vise assembly and allow holdfasts to be used to clamp the Moxon vise to the workbench top. Several other intermediate steps were performed, always careful to get alignments exactly correct. There is almost no room for error in making these vises since replacing either of the jaws is both time and material consuming. A more comprehensive article on how I made this Moxon vise will be available at the web site soon.
 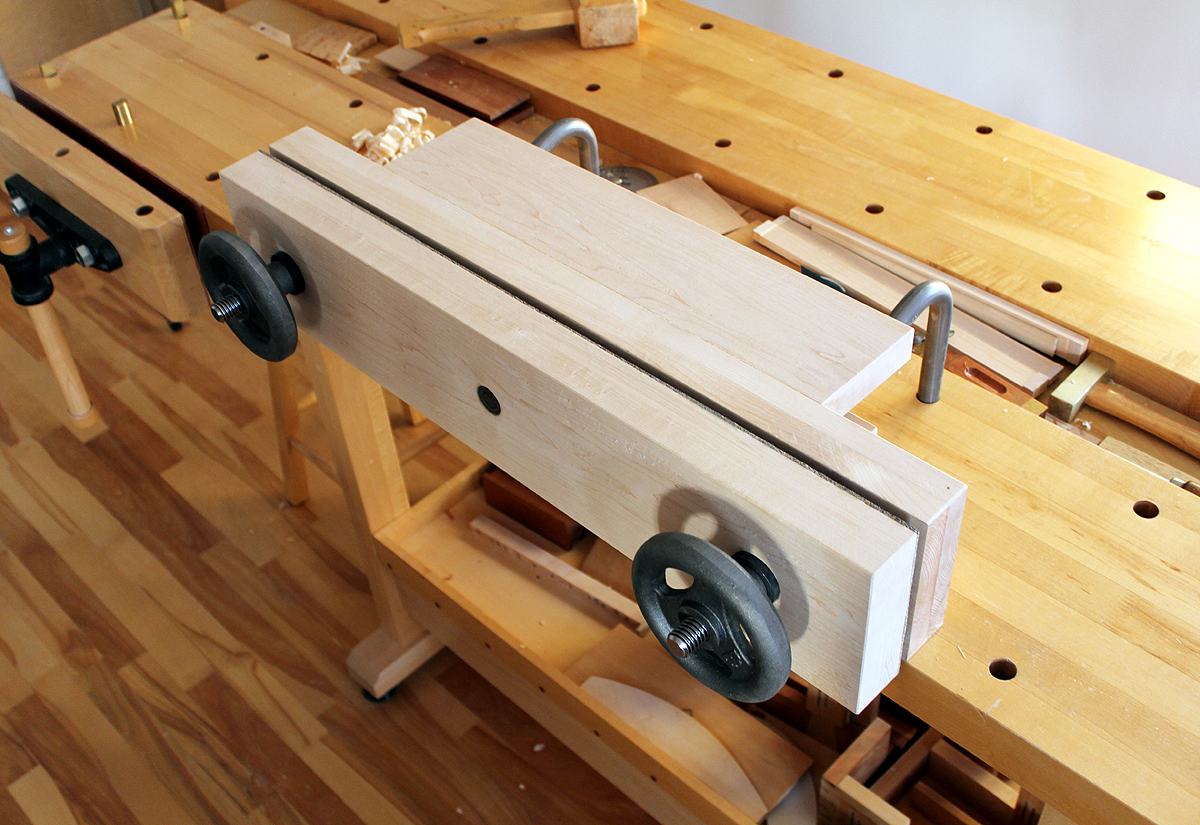 A table extension and vertical support was then added after ensuring the stabilizer was effective at clamping down the Moxon vise to the workbench. The table allows me to extend horizontal boards for marking..i.e. dovetails. I customized the design to use an extra row of dog holes in the center area of my workbench. I have two of these workbenches set as my primary workbenches, so the Moxon vise will be completely portable between benches. The vise can also be located almost anywhere on the workbench surface as the holdfast locations are optimized to clamp the stabilizer block of wood at rear of the vise. I am using Gramercy holdfasts but any holdfasts can be set up for use with the vise.
More detail of the handwheel, screw, and captive nut can be seen above. The table is reinforced below both long edges for maximum support, this to allow for any mallet work. i.e. chopping out dovetails. A large design consideration was to not make the Moxon vise too heavy as I would often be removing it from the workbench top and/or moving it between workbenches. The table size was optimized for this vise and the type of work I do. When designing your own Moxon vise, you will need to determine the size of boards and panels you most often work with. The overall length of the Moxon vise is the most important consideration in its design, it is best to get it right the first time!
A more in-depth article on how I made this Moxon vise will be available at the WoodSkills web site soon.
1 comment:
I need to to thank you for this great read!! I definitely loved every bit of it.
I have got you book marked to look at new things you post…
Post a Comment