Showing posts with label bench clamping. Show all posts

Wednesday, January 1, 2020

Sliding Tail Vise

Over time and with increased use of hand tools, I enjoy creating jigs and tools to make the experience a better one. As a left-handed woodworker, I struggle with tools that are primarily designed for right-handed use. Regular bench planes are not an issue as they are symmetric in nature. When it comes to joinery and specialized hand planes however, the handedness is a little more critical. I have adapted for the most part but in some cases prefer a left-handed version of a tool as it feels more natural to me. In summary, I need to work on both sides of a workbench to accommodate either a left-handed or right-handed tool.


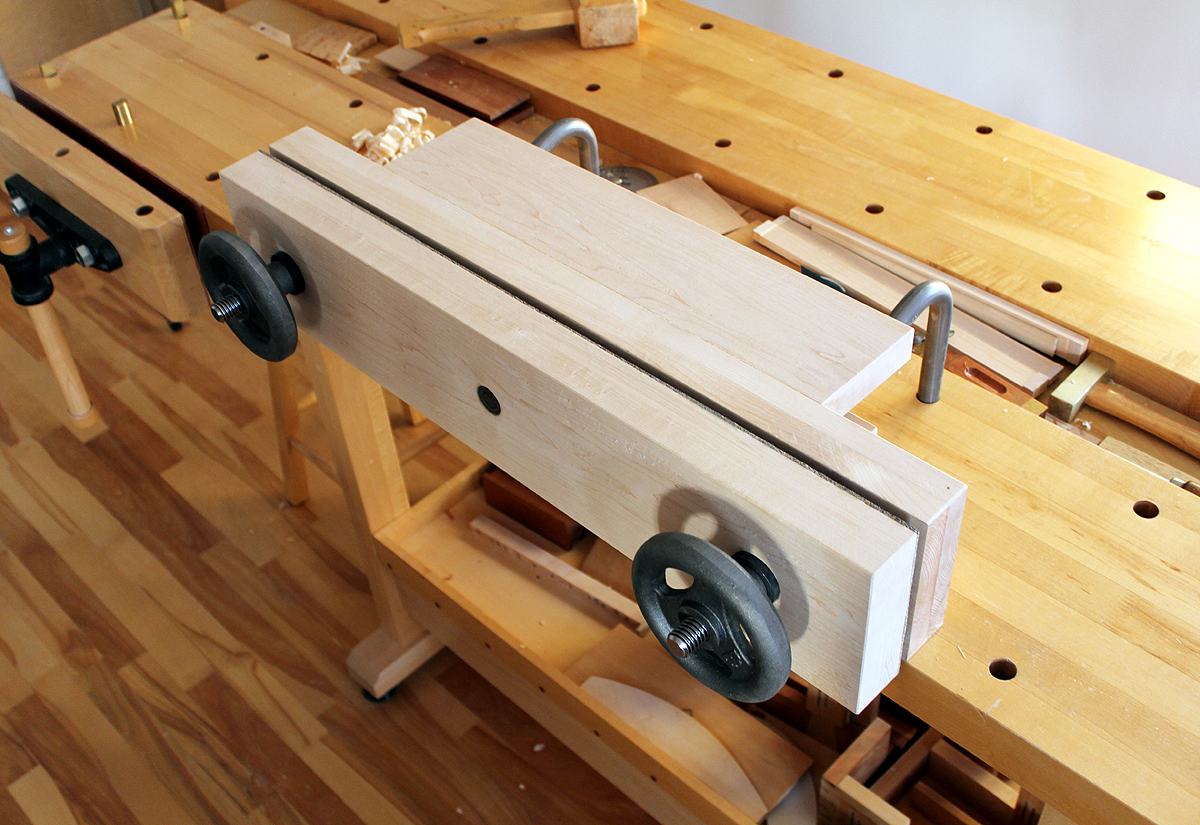
To overcome this, I developed this interesting workholding jig that plugs into the tail vise, in my case a twin screw vise, and serves to extend the operation of the vise over the workbench surface. Twin screw vises or end vises when used as tail vises, introduce a large gap between the moving jaw and the workbench surface. Another consequence is that the workpiece is hanging over the end of the workbench, not an ideal orientation for working with hand planes. The sliding tail vise emulates a real tail vise in its operation. Racking is also eliminated when clamping narrow boards through the four point system.


The sliding tail vise transfers clamping to the main workbench top. Inherent in its design ,it attaches through four points. Two fixed points in the outer jaw and two sliding points within slots. I can now quickly clamp a workpiece to the workbench surface through a wide bearing surface and if necessary lock it in place through two knurled bolts.


The sliding tail vise is also designed to be portable. I can easily use it on either side of my workbenches depending on the tool being used ( left or right hand orientation). I have also updated the design to work better with plow planes and the depth adjuster on this type of hand plane. This can be seen in the last image. So what began as a project to allow me to use the twin-screw vise to clamp on either side of a workbench, has turned out to be a really versatile clamping aid for an end vise or twin-screw vise regardless if you are left or right-handed.


Instructions and CAD diagrams are now available on how to create this sliding tail vise along with detailed plans. The plans are specific to Veritas workbenches, but easily adaptable to similar workbenches with either an end vise or twin screw vise. Plan available through www.woodskills.com

Wednesday, February 7, 2018

Workbench accessories...(Pt. 2)

After completing and successfully testing the portable board jack in the previous post, I decided to continue on with workbench workholding accessories. At this point, two clamping attachments came to mind. The first, an edge dog, alternatively known as a bench puppy, was modelled after a College Of The Redwoods derived design. This particular design was gained from a Timothy Coleman article on this type of workholding device, also derived from a College Of The Redwoods design.


A good example of how an edge dog can be used to hold a board on edge can be seen in the following image. One end is held by a edge dog whereas the other end is an add-on to a twin-screw vise which I discuss next. Instead of clamping a board to the surface of a workbench, the edge dog is used to clamp the board along the workbench edge and therefore at a more reasonable and lower height suitable for handplaning. Having a pair of these edge dogs allows either side of the workbench to be used. The edge dogs are created with opposing configurations as shown above.

My current workbenches do not incorporate dedicated tail vises. In place, I use a Veritas Twin-screw vise which performs as a tail vise when clamping boards on their face. When it comes to clamping boards on edge, the twin-screw vise can also be used along with bench dogs. The edge of the work piece would be then sitting on the workbench top. However, this raises the height of the board considerably and is not very conducive to jointing an edge of a board or handplaning. Ideally, the edge of a board should be slightly higher than the workbench surface to effectively perform hand plane operations. With this in mind, I created this outboard add-on to the twin-screw vise which extends the width of the vise movable jaw past the edge of the workbench.


Shown above, this newly designed outboard add-on accessory is an addition to the twin-screw movable jaw. In effect, the twin screw vise now becomes an enhanced tail vise capable of clamping boards on edge along the side of a workbench. The clamping is done in conjunction with the previously mentioned edge dog. Images of a board being clamped between these two accessories are shown below.


In these photos I am jointing the edge of a white ash board. I was surprised at how tightly the board is clamped with minimal tension applied to the twin screw vise. The friction from the leather pads contribute to this as slightly more tension was necessary before applying the leather pads. The outboard extension to the twin-screw vise is removable and can be adapted to either side of the twin-screw vise. I am left-handed so having it located to the right of the vise as shown, is more practical. For right-handed use, the opposite edge of the workbench would be used for jointing. As an added bonus, there is no racking of the twin-screw vise regardless of the clamping pressure I apply to the outboard extension.


Wednesday, January 10, 2018

Moxon vise build...(Pt. 2)

The Moxon vise build continued and the vise was completed a couple of days after beginning the project. There was a considerable delay in determining the optimum length of the vise. This actually held me back since making it too short is essentially non-correctable later. Too long and there is a weight penalty as these Moxon vises tend to be heavy, especially with the Benchcrafted solid iron handwheels. Although the extra mass and weight can be your friend when clamping boards down, portability of the unit is also a consideration. I would need to determine the size of panels I most often worked with. In my work, I never go over about 20 inches in width so I set this as optimal distance between the screws. Then, using guidelines on screw hole placement provided in the Benchcrafted instructions, a final length of 28 inches was decided on. I did follow the suggested screw hole placement in the Benchcrafted instructions, this saved some time. Next was to mark the 3/4 inch screw holes and begin drilling, careful to have the holes in the front and rear jaws perfectly aligned.

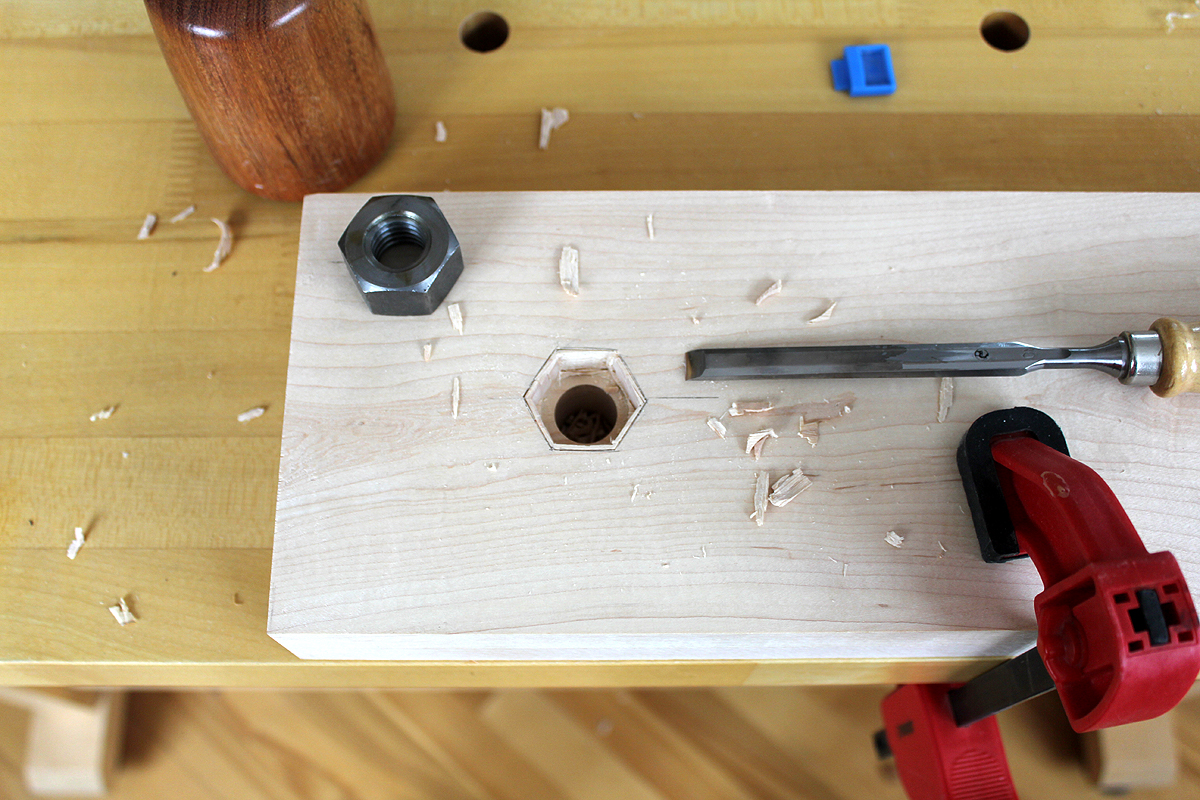
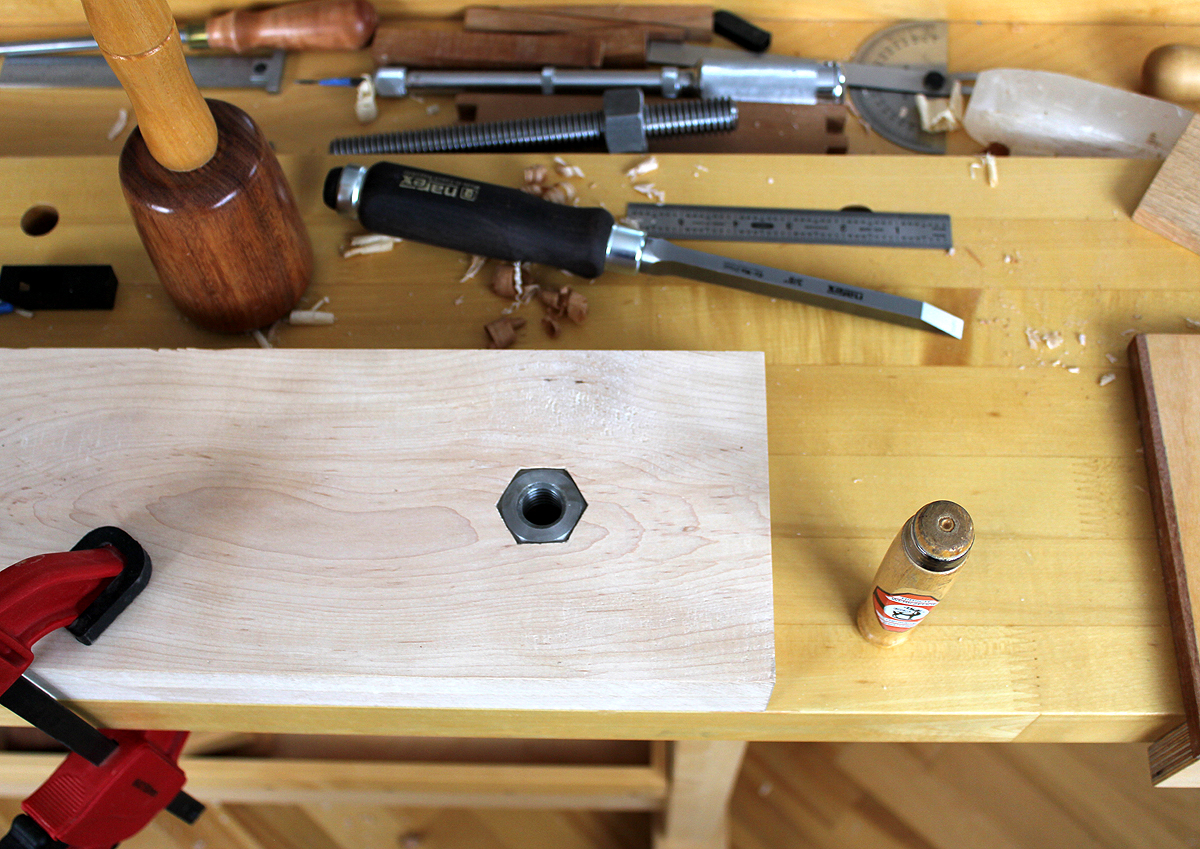
Moxon vise mortise captive nutMortising for the captive nut in the rear jaw inside face was performed using bevel-edge and mortise chisels. Hard maple is well.. hard! In this case, the mortise chisels excelled at hogging out material from the 3/4 inch deep mortise. With a softer hardwood, lighter bevel-edge chisels would have been sufficient. I also oriented the nut so it would align well with the long edges of the rear jaw, mostly an aesthetic consideration. 

Moxon vise captive nut in rear jaw
After test-fitting the Benchcrafted hardware and ensuring it worked smoothly, the next step was to attach a large block of wood to the rear. This block of wood would both stabilize the vise assembly and allow holdfasts to be used to clamp the Moxon vise to the workbench top. Several other intermediate steps were performed, always careful to get alignments exactly correct. There is almost no room for error in making these vises since replacing either of the jaws is both time and material consuming. A more comprehensive article on how I made this Moxon vise will be available at the web site soon.  

A table extension and vertical support was then added after ensuring the stabilizer was effective at clamping down the Moxon vise to the workbench. The table allows me to extend horizontal boards for marking..i.e. dovetails. I customized the design to use an extra row of dog holes in the center area of my workbench. I have two of these workbenches set as my primary workbenches, so the Moxon vise will be completely portable between benches. The vise can also be located almost anywhere on the workbench surface as the holdfast locations are optimized to clamp the stabilizer block of wood at rear of the vise. I am using Gramercy holdfasts but any holdfasts can be set up for use with the vise.


More detail of the handwheel, screw, and captive nut can be seen above. The table is reinforced below both long edges for maximum support, this to allow for any mallet work. i.e. chopping out dovetails. A large design consideration was to not make the Moxon vise too heavy as I would often be removing it from the workbench top and/or moving it between workbenches. The table size was optimized for this vise and the type of work I do. When designing your own Moxon vise, you will need to determine the size of boards and panels you most often work with. The overall length of the Moxon vise is the most important consideration in its design, it is best to get it right the first time!


A more in-depth article on how I made this Moxon vise will be available at the WoodSkills web site soon. 

Friday, July 29, 2016

New product, handcrafted bench dogs...

I have been successfully using these hardwood bench dogs in my furniture design+build studio for over 8 years. Why not make them available as a product. For most woodworkers, time is both limited and valuable. I have the setup and expertise to make these. The result is more free time for woodworkers to do what they love.

Hardwood bench dogs are better suited to working with wood than metal ones. This solid hardwood bench dog has a 3/4 inch diameter round profile. The round bench dog is intended for use in workbenches with 3/4 inch round holes. A spring-loaded bullet catch is press fit into the sliding part of the bench dog. This ensures that the bench dog makes a solid fit with the workbench hole.

The length of the bench dog is 3.75 inches which is ideally suited to most workbench thicknesses. To ensure positive clamping of thinner stock, a raked flat notch is recessed on one side of the bench dog. Leather is applied to the face of the raked flat face of the notch to prevent wear on furniture components clamped against the bench dog. The bench dog can easily be lowered into the dog hole when not in use, and raised for use.


The bench dog can be raised to match the thickness of the stock that is being hand-planed, assuming there is a 3/4 inch through-hole in the workbench surface. The hardwood bench dog eliminates the risk of marring the metal sole or blade of a metal-bodied handplane. The hardwood used in the bench dog design is oak.

The price for each handcrafted bench dog is currently $11.50 and available through WoodSkills